Free shipping in the U.S. for orders over $50

How to Test Splashback Risk in Percolator Bongs and Rigs
Splashback is one of the most common complaints about percolator water pipes. It is also one of the easiest to miss in a factory sample check. A piece can look well made and still push water into the mouthpiece the first time someone draws hard. For a buyer, that becomes returns, negative reviews, and a product line that looks careless.
Splashback comes from the interaction of water volume, perc design, neck geometry, and draw force. It is not a single defect. This guide gives you a repeatable, water-only protocol for measuring that risk on samples and production lots. It also covers which design features raise the risk and what to put in an RFQ so your supplier builds to a testable standard.
What Causes Splashback in a Percolator Bong or Rig?
Splashback is water, or foamy aerated water, reaching the mouthpiece during a draw. One retailer guide on how percolator bongs work lists four typical causes:
too much water, pulling too hard, no splash guard or splash control design, and holding the bong at a bad angle.
Two of those causes are user behavior. The other two, splash control design and the geometry that sets how much water the piece can tolerate, are product decisions. Those are the ones a buyer can test and specify.
Here is the physical logic. When air is pulled through the downstem and perc, bubbles aerate the water and push it upward. The water column rises above its resting level. If the headspace between the waterline and the mouthpiece is too small, that rising column, or droplets carried by airflow, reaches the user.
Three variables set the margin:
- the resting waterline
- the headspace above it
- how forcefully the piece is drawn
Why More Percolators Don’t Automatically Mean a Better Piece
The common assumption is that more percs mean better filtration and a better product. For splashback, the opposite can be true.
A guide to bong water levels states that
for percolators, each perc must be fully submerged
. It also gives about half an inch to one inch of water over the downstem slits as a general guide. These are retailer guidelines, not engineering limits.
The implication is a fill window. This is a term used in this article, not an industry standard. It is the range between:
- the minimum water level that submerges every functional perc opening, and
- the maximum level before water enters the neck or reaches the mouthpiece during a draw.
Each added perc stage raises the minimum fill level. A tall stacked build can leave a narrow window with little headspace to absorb aeration. A simpler, well-proportioned piece with a larger window may splash less in real use.
This does not make stacked percs a bad choice. Some buyers want the diffusion and the visual appeal. It means the extra perc stages should be justified by testing, not assumed to be an upgrade.
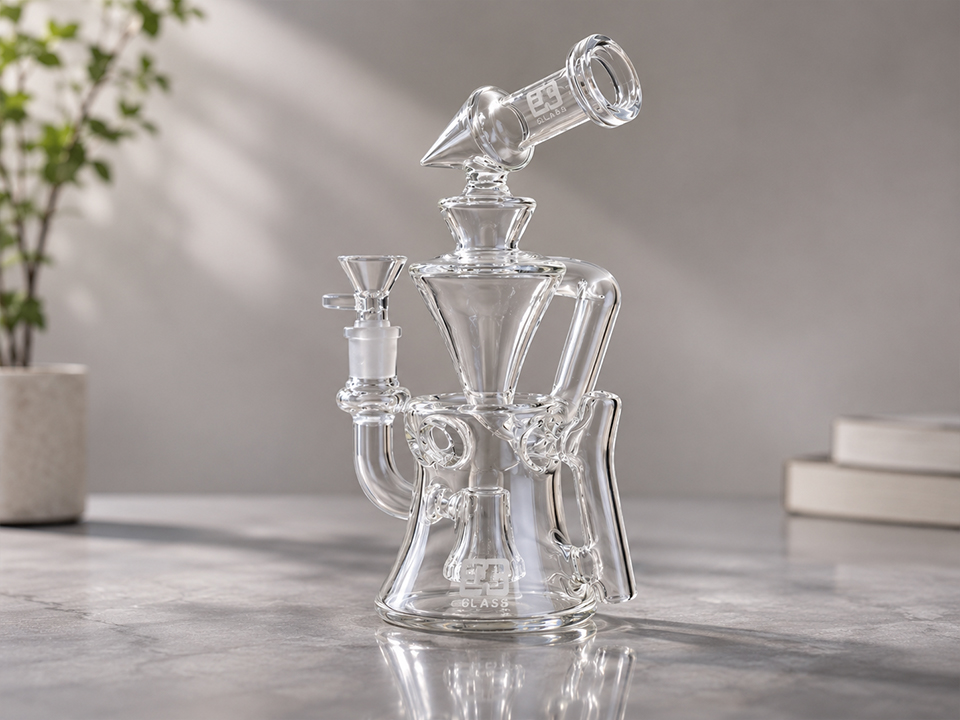
Splashback Risk by Design Feature
Use this table to decide what to examine on a sample. The qualitative judgments reflect reasoning about airflow and water behavior, not measured data from any specific product.
| Design feature | How it affects splashback risk | What to test | What to ask the supplier |
|---|---|---|---|
| Headspace above waterline | Less headspace gives aerated water less room to rise before reaching the neck | Fill-window range in mL and mm | Recommended fill volume and maximum fill line |
| Number of perc stages | More stages raise the minimum fill level and shrink the window | Water level needed to submerge all perc openings | Whether all stages are intended to be submerged |
| Perc opening size and count | Finer openings add flow resistance, which can lead to harder pulls | Draw effort and water behavior at gentle, normal, and hard draws | Slit or hole count and consistency across units |
| Neck diameter and height | A wider or shorter neck gives water a more direct path upward | Highest point reached by foam during hard draws | Neck dimensions on the drawing |
| Splash guard or baffle | Can interrupt water travel but may add drag or manufacturing complexity | Repeat tilt and hard-draw tests with and without the guard (if a variant exists) | Guard geometry and whether it is hand-formed or tooled |
| Base shape (beaker, straight, compact) | Changes how the waterline behaves when tilted | Splash behavior at normal use angles | Base diameter and water capacity |
| Bowl and joint fit | Restrictive bowls or air leaks at the joint can lead to harder pulls | Draw effort with the intended bowl installed | Joint size, bowl bore, and tolerance |
How to Test Splashback Risk Step by Step
No water has to be near any combustion for this test, and none should be. You are testing water behavior and airflow.
Prepare a repeatable test setup
- Clean the piece and use distilled or consistent water. The same dankstop guide notes that
hard water stains are mineral deposits and can be avoided by using distilled water.
Deposits can partially block small perc openings and distort results.
- Use a flat surface and a defined starting angle. Mark whether you are testing upright, at a natural handheld tilt, or both.
- Install the intended bowl or slide and any ash catcher that will ship with the piece. Accessories change airflow.
- Decide your draw method. A person drawing gives realistic feedback but varies between testers. A mechanical vacuum source or hand pump with a sanitized interface gives repeatability. Many QC teams use both: mechanical draws for consistency, human draws for real-world feel.
Find the fill window
- Fill the piece with a measured volume of water. Record it in mL.
- Check that every functional perc opening is submerged. The retailer guidance above suggests
covering the downstem slits by about 0.5 to 1 inch
as a starting reference.
- Run a dry draw, meaning an unlit pull. The water-level guide describes the same check:
if water splashes into the mouthpiece, the piece is overfilled.
- Increase water in small, recorded steps until water first reaches the mouthpiece during a normal draw. That marks the upper edge of the window.
- Record the window as a volume range and, where practical, as waterline positions marked on the glass with a removable marker.
A small window means a piece that is sensitive to over-filling by the end user.
Run draw-intensity and tilt tests
At the middle of the fill window, run three draw intensities: gentle, normal, and hard. Repeat each at upright and at a realistic handheld tilt. The dankstop guide recommends keeping the piece upright and notes that
tilting can cause water to flow toward the neck.
Your test should check how much margin remains at normal use angles.
Then repeat at the upper edge of the fill window to see how quickly the margin disappears.
Record results, not impressions
Use a simple log with one row per unit and test condition. Capture:
- fill volume
- draw intensity
- tilt angle
- where the water or foam travelled (neck entry, mouthpiece, or no splash)
- any audible gurgling
- subjective drag
- tester initials
Define acceptance criteria before testing. For example, “no water reaches the mouthpiece at normal draw within the specified fill range” is a pass-or-fail criterion your team can write into the RFQ. The exact threshold is your decision. There is no published universal standard to borrow.
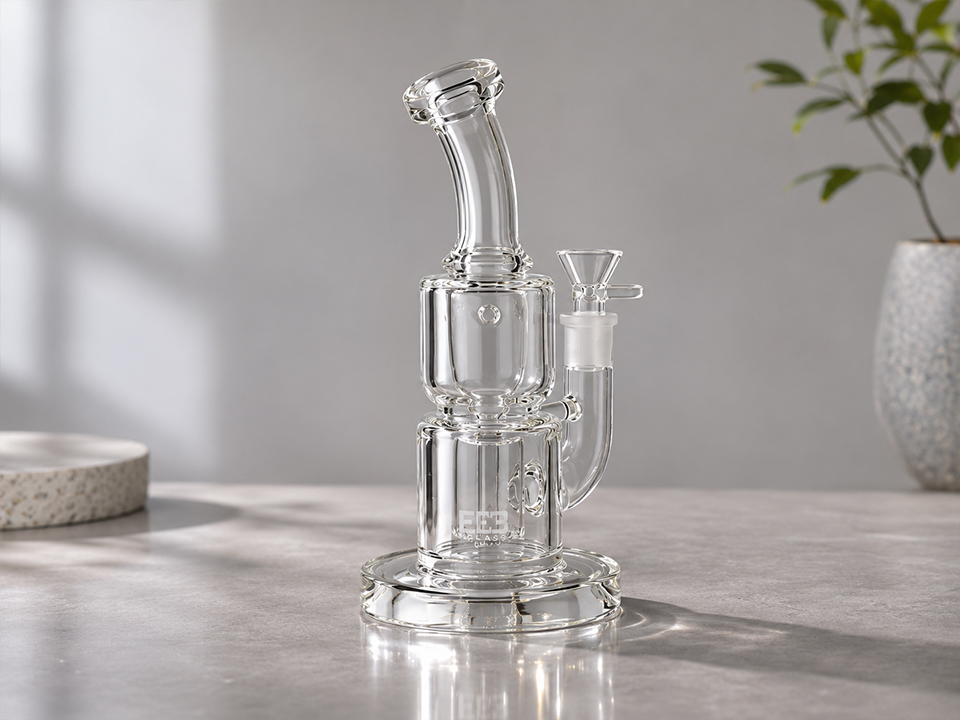
Which Defects Create Inconsistent Splashback Between Units?
A design that passes on one sample may fail on another. Hand-formed glass varies, so lot-level checks matter.
Common sources of unit-to-unit variation include:
- Uneven perc openings. Partially blocked or inconsistent slits change resistance and water movement.
- Off-center or angled downstem. This can shift how bubbles rise and where water travels.
- Neck geometry drift. Slightly different neck diameter or height changes headspace behavior.
- Joint and bowl fit. A loose joint or restrictive bowl can force harder pulls. The same dankstop guide associates whistling or uneven airflow with
resin clogging tiny openings, partially blocked small holes, or a tiny crack in a slit.
Those same defects can show up in sample inspection.
- Cracks or stress marks near glass joints. If the glass looks cracked, do not use it, and remove it from the test pool.
For production lots, agree on a sampling plan with your supplier, such as an AQL-based approach, and decide which defects are critical, major, or minor. Splashback outside the specified fill range should usually be classified at least as a major defect.
Illustrative example (hypothetical, not a real customer case): A buyer approves a three-perc beaker from one sample, then receives a lot where several units splash at the same fill level. Checking fill windows would likely show the variation sits in neck height or perc opening consistency, not in user technique. Defining a fill window and sampling rule in the RFQ would have caught it earlier.
Does Splashback Testing Apply to Hand Pipes, Bowls, and Compact Water Pipes?
It depends on whether the product has a water chamber.
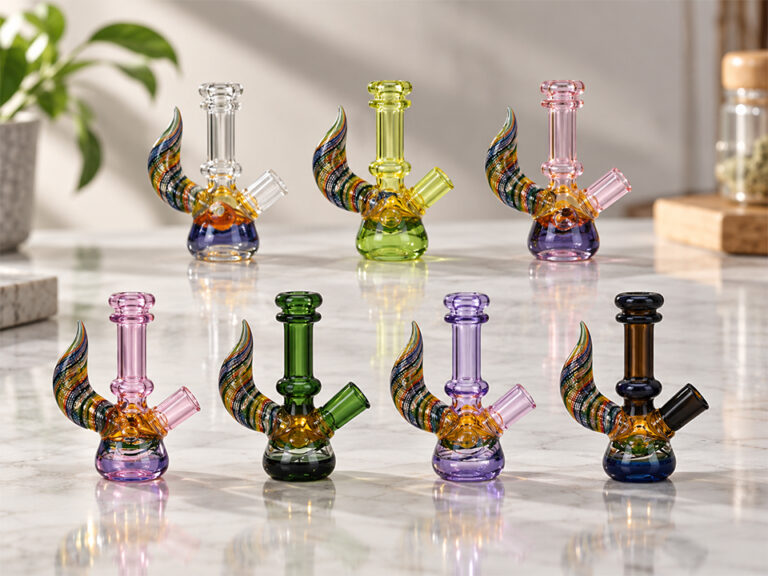
Dry hand pipes have no water, so there is no splashback to test. Items such as the red eyeball EGH34 solid borosilicate hand pipe and the EGH02 twisted horn hand pipe are described on the supplier’s site as borosilicate hand pipes of roughly 4 to 4.5 inches. For them, the closest QC equivalent is an airflow check:
- confirm the bowl is clear
- confirm the draw path is open
- confirm the carb or mouthpiece is not blocked
The same applies to character-style pieces such as the big monster eyeball 4.5-inch pipe and the double monster eyeballs 4.5-inch pipe. Their decorative protrusions are worth inspecting for wall-thickness consistency and sharp edges. A splash test is not relevant.
Bowls and slides are different. They do not hold water, but they influence draw resistance and joint seal on the water pipe they attach to. When testing a percolator piece, use the actual accessory that will ship with it. The angel wings bowl and slide and the pure mushroom handle bowl and slide are examples of the handled bowls buyers pair with water pipes. Joint size and bore were not listed on the pages reviewed, so confirm them with the supplier before assuming a fit.
Compact water pipes deserve a separate look. The ES2227 wig wag 6-inch water pipe is described as a compact piece. That page does not mention a percolator or give water capacity. It is a reminder that short chambers generally leave less headspace. If you stock compact water pipes, run the fill-window test on a sample rather than assuming splashback performance from the product description.
Dab rigs are another case. They typically use smaller water volumes and compact chambers, which can narrow the fill window further. Apply the same protocol with proportionally smaller fill increments.
What Are the Trade-Offs of Reducing Splashback?
Lower splashback risk is not free. Each design response has a cost:
- A taller neck or larger headspace adds height, glass volume, weight, and freight cost. Taller pieces also face higher breakage risk in transit.
- A splash guard or baffle adds forming steps, and potentially more variation between hand-made units.
- Wider perc openings may reduce flow resistance but can also change diffusion and visual style.
- Fewer perc stages widens the fill window but may reduce the premium appeal some retail segments expect.
- A lower recommended fill line reduces splash risk but needs clear user instructions. Without marking or printed guidance, many end users will fill to their own preference.
The right balance depends on your market. A value line might prioritize simplicity and a wide fill window. A premium line might accept a narrower window if the product comes with a clear fill instruction and tested limits.
What Should Buyers Specify Before Requesting a Quote?
A quote based only on “percolator bong, borosilicate” leaves splashback performance to chance. Include the following so the supplier can build to something testable.
- Product type and target height. Beaker, straight tube, compact water pipe, or rig.
- Perc type and number of stages. State whether all stages are meant to be submerged.
- Joint size, gender, and angle. Include the bowl or slide type and bore, if supplied.
- Neck and mouthpiece dimensions, or a reference sample.
- Splash guard requirement. State yes or no, and give a reference design if you have one.
- Recommended and maximum fill volume. Ask the supplier to state them, and verify them yourself.
- Test method and acceptance criteria. Spell out the draw intensities, tilt angles, and pass/fail definition.
- Sample and lot-inspection plan. Quantity of pre-production samples, per-lot sampling rate, and defect classification.
- Packaging and shipping protection. Taller necks and added features raise breakage risk.
- Order quantity, lead time, and compliance needs. Check the paraphernalia and tobacco-accessory rules in your destination market, since they vary by jurisdiction.
Before committing to a bulk order, request a pre-production sample. Run the fill-window protocol, then ask the supplier to explain any gaps between your results and their stated fill guidance.
Frequently Asked Questions
What is the main cause of splashback in a percolator bong?
The most common cause is excess water combined with a hard draw. Retailer guidance lists too much water, pulling too hard, missing splash control design, and a bad holding angle as typical causes. Product geometry determines how much margin the user has.
How much water should a percolator bong have?
Retailer guidance suggests covering every perc opening and keeping water about half an inch to one inch above the downstem slits. The exact amount depends on the specific piece, so ask your supplier for a recommended fill volume and verify it by testing.
Do more percolators increase splashback risk?
They can. Each stage must be submerged, which raises the minimum fill level and can shrink headspace. A stacked piece may have a narrower fill window than a simpler design, so test it rather than assuming extra stages are an improvement.
Does a splash guard fully prevent splashback?
Not necessarily. A splash guard can reduce water travel toward the mouthpiece, but fill level, draw force, and tilt still matter. Test with and without overfilling, and at a realistic tilt, to see how much margin the design actually provides.
Can I test splashback without lighting anything?
Yes. A dry draw with water only is the standard approach. Fill the piece, draw at defined intensities, and watch where water travels. This isolates water behavior and keeps the test repeatable and safe.
Is there an industry standard for splashback testing?
No published standard was found in this research. Buyers typically define their own method and acceptance criteria. Writing these into the RFQ and quality agreement keeps expectations measurable and the same across production lots.
Does splashback testing apply to hand pipes?
No. Dry hand pipes have no water chamber. The equivalent checks are airflow, bowl clearance, and glass inspection. Splashback testing applies to water pipes, bongs, and rigs that hold water.